Related: ^f3e86a
/attachments/IMG_2810-1.jpeg)
Available on Etsy.
Motivation
As part of learning in public, I’m publishing my development logs of completing my first complex 3D print—a cat toy. I’ll share with you the various techniques I’ve learnt in customizing the original design (linked below) to be more reliable and aesthetically-pleasing. If you’re interested in the behind-the-scenes development process, read on!
Why this design?
A while back when I just got my 3D printer, I was itching to print various things and also dive deeper into various printing techniques.
I try my best against printing junk1—things that look cool to print or own in the moment, but are useless and easily forgotten afterwards. Rather, I stick to functional prints as much as possible. That’s when I came upon this awesome design by WimV2—a tumbling treat dispenser for your pet:
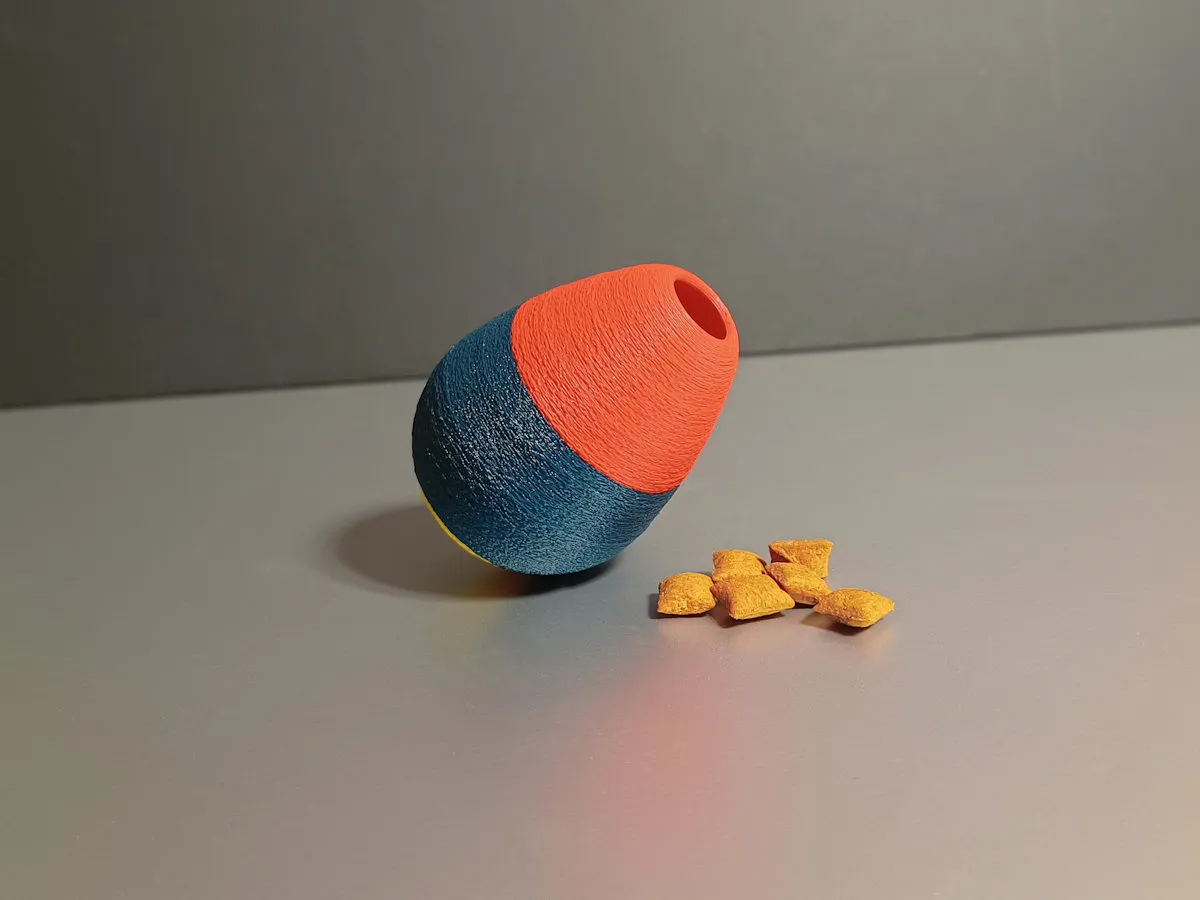
Image and video above are from the original design’s webpage.
The toy consists of three sections:
- the upper section houses pet snacks / treats
- the middle section is hollow with a ball that aids with the tumbling motion. It also doubles as a rattle!
- the lower section contains a metal nut for the object to return upright after tumbling
/attachments/Screenshot-2024-08-22-at-8.56.42-PM.png)
I found this design to be cool because:
- it’s functional and also interactive
- it’s a more complex print—the final product contains composite parts and the print has to be paused at various stages for manual modifications
- it allows me to try out various techniques like fuzzy skins, that I read online recently
- there’s a lot of creative possibilities, as seen from the various colour choices users have printed with it
- it can be a great gift to friends who have cats as pets.3 And no, I do not have a chonky cat, unfortunately.
So, I’ve customized my slicer settings to produce my personal variation on WimV’s design.
The Product Development Process
Below are the various challenges and design considerations I went through to improve the product.
- Balancing
- Pausing the print
- Part tolerance
- Fuzzy skin texture
- Multi-colour prints
- Other little details
- Skipping objects mid-print
Balancing
One strength of 3D printing over traditional approaches like injection moulding is that large chunky parts can be printed without shrinkage. This leads to a strong product while remaining relatively material-efficient. Relatively little material is requires as the interior of the object is mostly hollow—known as infills. This also allows to save on printing time.
Typically, the infill density doesn’t need to be changed.4 However, for this project, infill is important as it plays a role with the toy’s balance—it needs to return upright after tumbling around!
While a metal nut is embedded at the bottom at lower the center of gravity, in practice it wouldn’t return upright unless the bottom half is also printed fully solid.5
Pausing the print
When working with composite prints, you can add printing instructions to pause the print at specific layers—this allows to do manual modifications to the print.
In this case, the print needs to be paused twice:
- Once at the bottom section, to embed a metal nut
/attachments/IMG_2667-1.jpeg)
- And a second time to dislodge the ball that’s printed in-place in the middle section
Part tolerance
The M8 nut called for by the design doesn’t always fit in the recess perfectly.
Sometimes, I am able to force it in but it requires a substantial amount of force which risks damaging the heatbed. So, I need to tweak the design to be more reliable for production.6
I tried two approaches, before landing on something laughably simpler:
- Changing wall ordering
- Tweaking X-Y hole compensation
Changing wall ordering
By default, the printer prints the inner wall before the outer wall (see image below). This is done so that the outer wall has good adherence to the object, especially when printing overhang walls. However, this setting lowers the dimensional precision of the object, as the outer wall may be “squished out” by the inner wall that’s printed first. By printing the outer wall first, the outer wall gets to be in the exact position it’s meant to be in, “locking in” the tolerance.
/attachments/Screenshot-2024-08-25-at-4.48.45-PM.png)
However, there is no way to change the wall ordering just for the hex recess. It’s risky to change this setting for the entire object, as the outer wall has overhangs and it’s fuzzy (see image below). The outer (fuzzy) layer may not adhere and fall off, ruining the print entirely.
/attachments/Pasted-image-20240825165551.png)
Therefore, changing the wall ordering is a no-go for this design.
X-Y hole compensation
I later found out that there’s a specific setting in Bambu Studio for problems like this, called X-Y hole compensation. You can tweak this setting to incrementally increase or decrease the size of the hole. However, it didn’t work very reliable for this design, which brings me to the simpler method below.
Final, simpler method
In the end, the simplest option worked the best—simply scale up the overall object by a few percent to increase the tolerance 😅 7
Fuzzy skin texture
I chose to use fuzzy skins for this design. It adds nice texture to the material, and also helps to hide the seams and layer lines, especially on the lighter colour band where they can be more obvious.
This feature doesn’t increase material usage (~3% more) but significantly increases print times (~54% longer).
Multi-colour prints
The AMS that comes with my printer allows for easy multi-colour printing. This is an opportunity to also apply some creativity to the final design, as shown by prints by various users online. I decide to go with a dual-colour striped pattern—interesting but still remaining relatively simple.
The colours were painted manually in Bambu Studio. While the process is relatively freeform, I had a few goals in mind:
- It has to have the “right” amount of both colours, and at the “right” location. For the latter, it just felt right for the the lighter colour to wrap the widest part of the egg
- There should be the minimal number of colour swaps8 to minimize on waste and save time. If colouring is done improperly at more complicated parts of the object (like at the snack platform; picture below), it can lead to an unnecessarily large number of colour swaps.
- The snack platform should be printed in the brighter colour. This makes it easier for the user to check if there are snacks left inside.
/attachments/IMG_2812-1.jpeg)
Other little details
Things that I care about, but may not be easily noticed on the first pass include:
- The top surface pattern of the snacks platform (picture above) uses the concentric pattern, instead of the default rectilinear pattern. The concentric pattern matches the geometry of the object.9
- I also found that a concentric infill pattern (left in picture below) saves on printing time, since the nozzle is continuously extruding. Meanwhile, the nozzle has to constantly accelerate and decelerate while avoiding the hex recess when using the default grid pattern (right)
/attachments/Concentric-Infill.png) | /attachments/Grid-Infill.png) |
|---|
- Not using brims or supports. These functionality adds stability to the object while printing, but leads to wasted material. Also, removing it takes manual labour and time, and often damages the surface of the object.
Skipping objects mid-print
As much as I try to design for reliability, the toy doesn’t print successfully all the time. This could be for various reasons including:
- Bed adhesion issues
- The printed-in-place all dislodges early and spontaneously. The nozzle may hit the ball causing the entire object to dislodge of the print bed
- The nut not fitting into the hex recess (fixed)
When printing in bulk, how do you skip printing failed ones without cancelling the entire job with good prints? Turns out Bambu has a cool feature which allows you to select which prints to be skipped mid-print. Somehow the G-code (printing instructions) is intelligently altered mid-print.10
Conclusion
Overall, this has been a really fun project to work on. The product is functional, interactive, and allows for creative customization. It was also a great experience to tweak the design and learn many new slicing techniques along the way. Last but certainly not least, it was a great gift for my friends and their feline friends 🐱
If you managed to read until this far, thank you for your attention. I hope that you’ve something new about the 3D printing process 🧠
Where can I buy this?
I’m selling this toy on Etsy. If you have cats or are looking for a gift for your friend who has some, consider purchasing one of them. I really appreciate your patronage. It helps support me to build things that I love! I’m open to hearing your feedback on the product as well—just message me on Etsy!
Footnotes
-
Here are my current thoughts on how 3D printing works with my values of environmentalism. ↩
-
Dogs and other pets are also welcome too, as long as their owners know their pets will use it appropriately. ↩
-
You may choose to increase it for more strength, but it depends on the geometry of your object and where points of stress concentrations are. ↩
-
I found out the hard way by printing it somewhat hollow, and was doing various hacky tweaks to get the balance right, including considering using rice & flour to weigh it down. Alas, I forgot to read the instructions highlighted in bold to print with 100% infill 🤦 ↩
-
A more reliable manufacturing process leads to more reliable lead times and reduced wastage, thereby driving down the manufacturing costs. ↩
-
This reminds me of Einstein’s quote—“Everything should be made as simple as possible, but no simpler”. That said, it was worthwhile diving deeper to learn more about various technical levers to improve part tolerances for future designs. ↩
-
Multi-colour prints can be especially time-consuming and wasteful. The nozzle has to purge the previous filament and a bit of the new filament to prevent colour bleeding. It also prints a prime tower by default, which I’ve disabled to minimize waste. ↩
-
The pattern can be eliminated entirely, using a technique called ironing. Though I personally find the detail to be a nice touch 🙂 ↩
-
This implies that the G-code likely has some notion of “objects” in its primitives. ↩